Replacing a shower faucet itself is a lot of work. But, it gets worse if you have to replace the shower valve too.
So, here’s the catch:
Replacing the valve needs some plumbing work to be done. The amount of work that adds is two fold of what you initially had to do.
What you need is an alternative way of getting the job done without replacing the valve itself. So, where do you look?
Well, we’ve got you covered. We have prepared this 10 step guide to help you replace shower handle without replacing valve. The process is fairly easy.
Throughout the guide, we’ll cover the 10 steps in detail. Along with that, we’ll also throw in a bonus tip to help you further.
So, without waiting any longer, let’s jump right into it. But, first, we’ll need to check out the things that you’ll need to get the job done.
Let’s see what’s next.
Things We Think You’ll Need
Since this is a technical job, you’ll need some tools and supplies. Here are the ones we recommend you have before you start:
- Phillips Screwdriver: For screwing in the shower handle and cover plate.
- Replacement Shower Handle: You’ll need this for installing the new shower handle.
- Replacement Shower Head: For replacing the shower head (optional)
- Wrench: This is for removing the handle with care.
- Caulk: You can use this to give your shower faucet some protection.
How to Replace Shower Handle Without Replacing Valve?
Now, we’ll move into the 10 steps of getting the job done. We have put in as much information as we could to make it easy to understand.
So, here goes:
Step 1: Determine Brand
Firstly, you’ll have to check the brand of your present faucet setting. This is crucial because the way valves are installed depends on its valve.
We need a shower faucet handle set that is compatible with the brand of the shower handle that you’re using now. So, check the brand before buying a set.
Otherwise, you won’t be able you won’t be able to install a new shower handle without replacing the valve. Try checking internet reviews and forums before driving off.
That would help you come to a sensible decision and make your installation flawless. Now, let’s move onto the next step and see what we have to do.
Step 2: Make Preparations
Now, you need to make some preparations before moving onto the real deal. Check that you have the tools that you need, along with the supplies.
Because you’d not want to run to the store in the middle of the work. Nobody would.
So, as the saying goes, “Prevention is better than cure”, it’s better to have everything ready for the job. Moreover, it’ll help you keep track of everything.
Here’s a quick tip:
Put a towel on the sink to prevent screws from falling below. This is a problem that a lot of people face.
Now, once you’ve completed the preparations, you can move on to the next step.
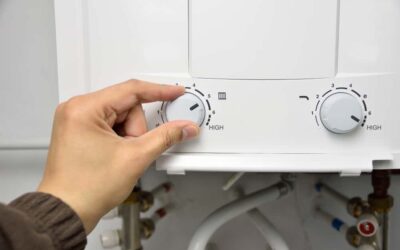
Step 3: Turn Off Water Source
Now, it’s time to get down to work. Start by turning off the source of water for your shower.
Firstly, locate the water heater and adjust its valves to cut off the water to your shower unit. This lessens the chances of water blasting onto you when working.
Now, just to be safe, turn off the main water source as well. Additionally, turn the faucet back on to drain the remaining water.
Once you’re done here, move on to the next step.
Step 4: Remove Plastic Cover
Grab a small flathead screwdriver. Now, you’ll notice that the screws on the cover plate are protected by a plastic cover.
You’ll have to remove that cover to access the screws. So, poke the tips of the sides of the plastics covers to get them out.
Once the cover is in the grasp of the flathead screwdriver, pop off the plastic cover to expose the screws to you.
Now that you’ve finished this step, get ready to start removing the handle.
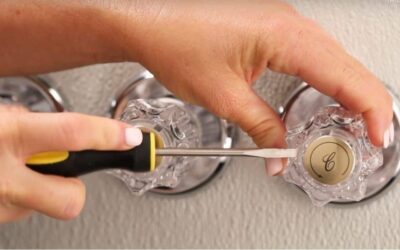
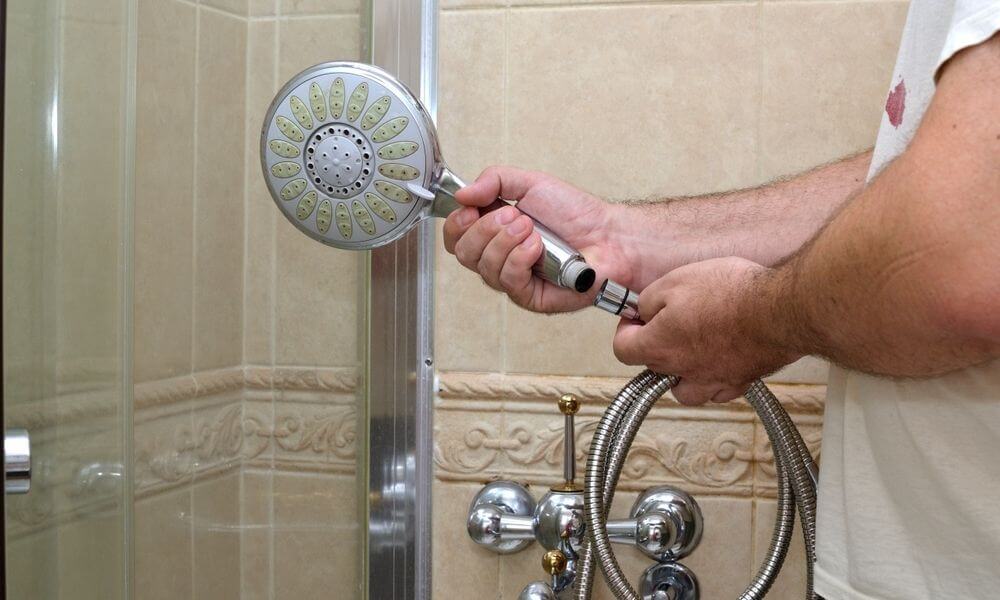
Step 5: Remove the Handle
Now, it’s time to remove the cover plate altogether. So, put that flathead screwdriver aside and grab a Phillips screwdriver.
Start by locating the screws with your Phillips screwdriver. Once you’ve found it, start screwing it to the left to loosen it.
Remove the screw along with the handle. You can also remove the cover plate with a channel lock if you happen to have a trim replacement kit.
Now that you have removed the old handle, it’s time to get to installing the new one. So, jump into the next step.
Step 6: Line Up the New Parts
Now that we have successfully removed the handle, it’s time to put together the new shower handle. Start doing this by lining up all the parts together.
That’ll help you figure out what to put where beforehand. Moreover, it increases efficiency and makes things a whole lot easier.
Check an instruction manual if there is any, or you can use the general steps as well. Keep them in an order that is easy for you to grasp.
So, once you have lined up things together move to the next step, installing the new shower handle.
Step 7: Install New Shower Handle
Time to install the new shower handle. Start by putting the cover plate back on, if you did install a new one. If you didn’t open the cover plate, you’re fine.
Now, put the new shower handle in place and start attaching it to the rest of the system. Also, tighten the screws on the cover plate with a Phillips screwdriver.
That way, everything will remain reinforced. So, now that you’re done with the installation, you’ll have to dive deeper into the process to keep things safe.
So, let’s move on to the next step.
Step 8: Pop Plastics Covers Back in
Now, put away the Phillips screwdriver that you were using and grab a flathead screwdriver. You’ll need it to put the plastic cover back on the screws.
Gently place the plastic covers on the screws and pop them into place using the flathead screwdriver. Now make sure it’s tight so that water cannot seep in.
Once all that is taken care of, your installation is completely taken care of. Now you can move on the final two steps, which are all about the finishing.
Step 9: Turn on Water Source and Test
Since you have finished installing the shower handle, it’s time to test if it actually does work or not. So, to start things, turn on the water source.
It’s just the reverse of what you did on the third step. You turn on the main source of water and adjust the valves on the water heater to start water flow.
Now, you wait to see if the water flow is as consistent as you wanted. If not, then it’s time to go back to the drawing board and start from step 2 again.
But, if it does work, you can move on to the next and last step.
Step 10: Apply Caulk and Let It Dry
It’s very common for people to caulk the edges of the things that they install into their bathrooms. It’s because the caulk provides protection from water.
Moreover, it also holds things together, This step is completely optional, but we would recommend this for longevity.
So, all you have to do is apply the caulk on the edges of the cover plate, smoothen it and wait for it to dry. Once it’s done, you’re all done.
Those were all the steps that you would need to follow to get the job done. Now you can move on to the bonus tips.
Frequently Asked Questions (FAQs)
01. Can I use any shower faucet kit to replace the handle?
Unfortunately, you can’t. Different shower kits have a different kind of valve compatibility. So it’s better to check the manufacturer of your old kit before you buy a new one.
02. Is the plastic cover on the cover plate important?
Answer: Yes it’s crucial to the longevity of your screws. These plastic covers are used to protect the screws from getting rusted.
03. Do I have to use the caulk?
Answer: Well, it’s completely optional. But, caulk is used for extra protection. So, we recommend that you use it.
Conclusion:
That’s all from us for now. We put everything together in detail so that you could easily replace shower handle without replacing valve.
We hope our carefully curated 10 steps helped solving your problem. One thing that we want you to remember is to check the brand of your existing kit.
That way you can know what to get for your home shower.
Other than that, let us know if you want us to cover something else or if we missed something in general. You can do that by commenting below.
Till then, stay safe and conscious.
Editor’s Recommended: